Here are all of the recipes I have done in the past, all of which are my own creations.
Rust Buster:
Hook: Tiemco 105 Egg Hook Size 6 or 8
Thread: Black Thread, Preferably above 5/0
Eyes: Dumbell Eyes, 5/32 Of An Inch Or Smaller
Tail: Marabou, Light Olive
Back Dubbing: Super Fine Dubbin, Light Olive
Front Dubbing: Hareline Dubbin, Black
Other Tools Or Materials: Zap A Gap Or Other Fly Glue
Whip Finish Tool


Rust Buster
Well, I promised it would be here. The materials list was posted, the announcements numerous. The suspense has been building. Hell, the suspense is building right now. Up, nope, there it goes. Well before I take away anything else, here is the pattern for the "Rust Buster." This fly has caught everything from perch to trout to carp to even a few bass. Although it was originally made for carp, many different alterations can be made to fish it. Added legs make it a successful stonefly pattern, while a longer tail seems to entice perch and bass. As for the carp, well they seem to like just plain, like it's tied here. Give it a shot, no matter what type of fish your after.
Here is the recipe for the "Rust Buster":
The Rust Buster:
An all around great pattern
Step 1:
Put your hook in the vise, and start a thread base at the front of the hook. The first step is to tie in the Dumbell Eyes, and then glue them in place with the zap a gap. The eyes can be tied in and glued just as you normally would. Once finished, it will look something like this:

Step 2:
The next step is to bring the thread to the back of the hook shank and tie in the tail. Just take a relatively small section of the marabou, and just one feather. Tie it in, but be sure the thread is still toward the back of the shank when completed:

Step 3:
Now that you have something like the above picture, you should start tying in the olive dubbing. Use a dubbing loop or spin the dubbing onto the thread, then tie it in. The dubbing should come up to almost where the eyes are, with a small taper toward the back. It will look something like this:

Step 4:
Now that the back of the fly is complete, it's time for the front of the fly. Take the black dubbing, and tie it in starting where you finished with the olive dubbing. Whatever technique you used to tie that in will work for this as well. The one thing to not forget is to make sure the dubbing is figured eighted around the eyes so there is no bald spot above or below the eyes. It will look completed, just like this:

Now all you need to do is whip finish the thread, cut it off, and take your fly out to your local pond or stream. Just add water, and it catches fish! Here is the completely finished fly:

Annelid:
A simple pattern to fool the big ones
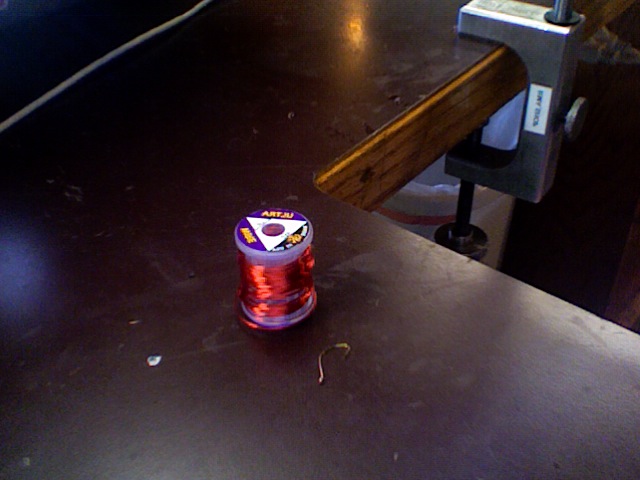
Wow, the only fly that doesn't need thread! All you need is red wire, a C12U Gamakatsu hook, UV Knot Sense, and thin head cement. Here is the recipe for this super easy fly, which can be tied in your hands! It somehow manages to fool the big ones, and is a top producer on places like the Dream Stream and the North Platte. Once you practice, these can be done in under a minute.
Step 1: Make a few wraps of wire around the hook from the back, heading forward. There should be a small tag at the back and a large one at the front.

Step 2: Continue wrapping the long wire tag forward until you reach the front of the hook. Then cut both tags, and press the remaining miniscule tags down onto the hook. The fly should look like this

Step 3: Apply UV Knot Sense and Head cement to cover the fly. Make sure the UV sets before applying the head cement. There should be a nice, shiny coat around the fly now. Make sure to let dry for at least ten minutes. Here is the finished fly:

Search And Destroy
Hook: U101 Size 14
Thread: Light Olive Uni 6/0
Bead: Small Clear Glass Bead
Tail: Pheasant Tail or Similar
Body: Tapered Thread
Wing: Antron or Micro Core Braid Olive (both shown)
Thorax: Ice Dub, Caddis Green
Step One: Put the glass bead on the hook, then put the hook in the vice. Who would have guessed?!
Step Two: Bring the thread to the back of the hook, doing your best to put one wrap behind the other. Next, tie in the pheasant fibers for the tail. It is very important to try and keep the wraps even, so you can build a better body later on.
Step Three: Build up the body in an even taper all the way up to the bead. I can't stress how crucial it is to make the body nice. Don't get me wrong, it will catch fish either way. I'm just critical of my own flies. If your not, you're a lucky bastard that's great. I put way too many flies in the "no" pile because of minor things. But back to the step-by-step.
Step Four: Cut off a small piece of the micro braid, and tie it in a little behind the bead. clip it to the length you want. I tie mine with so the braid goes back to where the body ends and the tail begins.
Step Five: Dub the head of the fly loosely. It looks better when there's a few fibers sticking out. Tie off the fly, and you're set!
Fluttering Minnow
Hook: Dai-Riki Streamer, Size 2
Eyes: Silver Dumbbell, Large
Body: EP Silky Fibers, Grey and Root Beer
Collar: Marabou, Olive
Steps 1-2: Tie in the dumbbell eyes about 1/4 of an inch behind the eye of the hook. This will leave you room for adding Silky Fibers later on. Next, move toward the back of the fly and tie in a small clump of Root Beer Silky Fibers as you would a marabou tail.

Steps 3-4: Continue moving forward on the hook, tying on clumps of Grey Silky Fibers on in a Dubbing Loop fashion. Stop adding when you hit the eye, but make sure to add only a bit at a time so you don't overcrowd the hook. Next, use a piece of marabou to Spey around the eye. For the fly shown, I switched the marabou to some Hareline Dubbing.

Step 5-Finish: Dubbing Loop on another clump of Root Beer Silky Fibers in front of the dumbbell eyes. Whip finish the fly and add a drop of head cement. Now dip the thing in the water to get the shape looking right before you throw up. Seriously, that thing looks gross right now.

